Graduation portraits are typically shot within the first two hours of the day, before the makeup has had a chance to oxidize, migrate, or lose definition. By the time the informal photos happen at dinner, the base has been on for six to eight hours in mixed conditions, through ceremony lighting, outdoor sun, and camera flash.
That combination puts makeup through a completely different stress test than everyday wear. The look you choose also comes down to personal style and how much upkeep you want to handle across the day — both matter as much as the products themselves.
Best Graduation Makeup Looks
The four graduation makeup looks below exist on a spectrum — from the lightest coverage that holds with almost no attention, to full glam that was built specifically for flash photography.
Natural Look
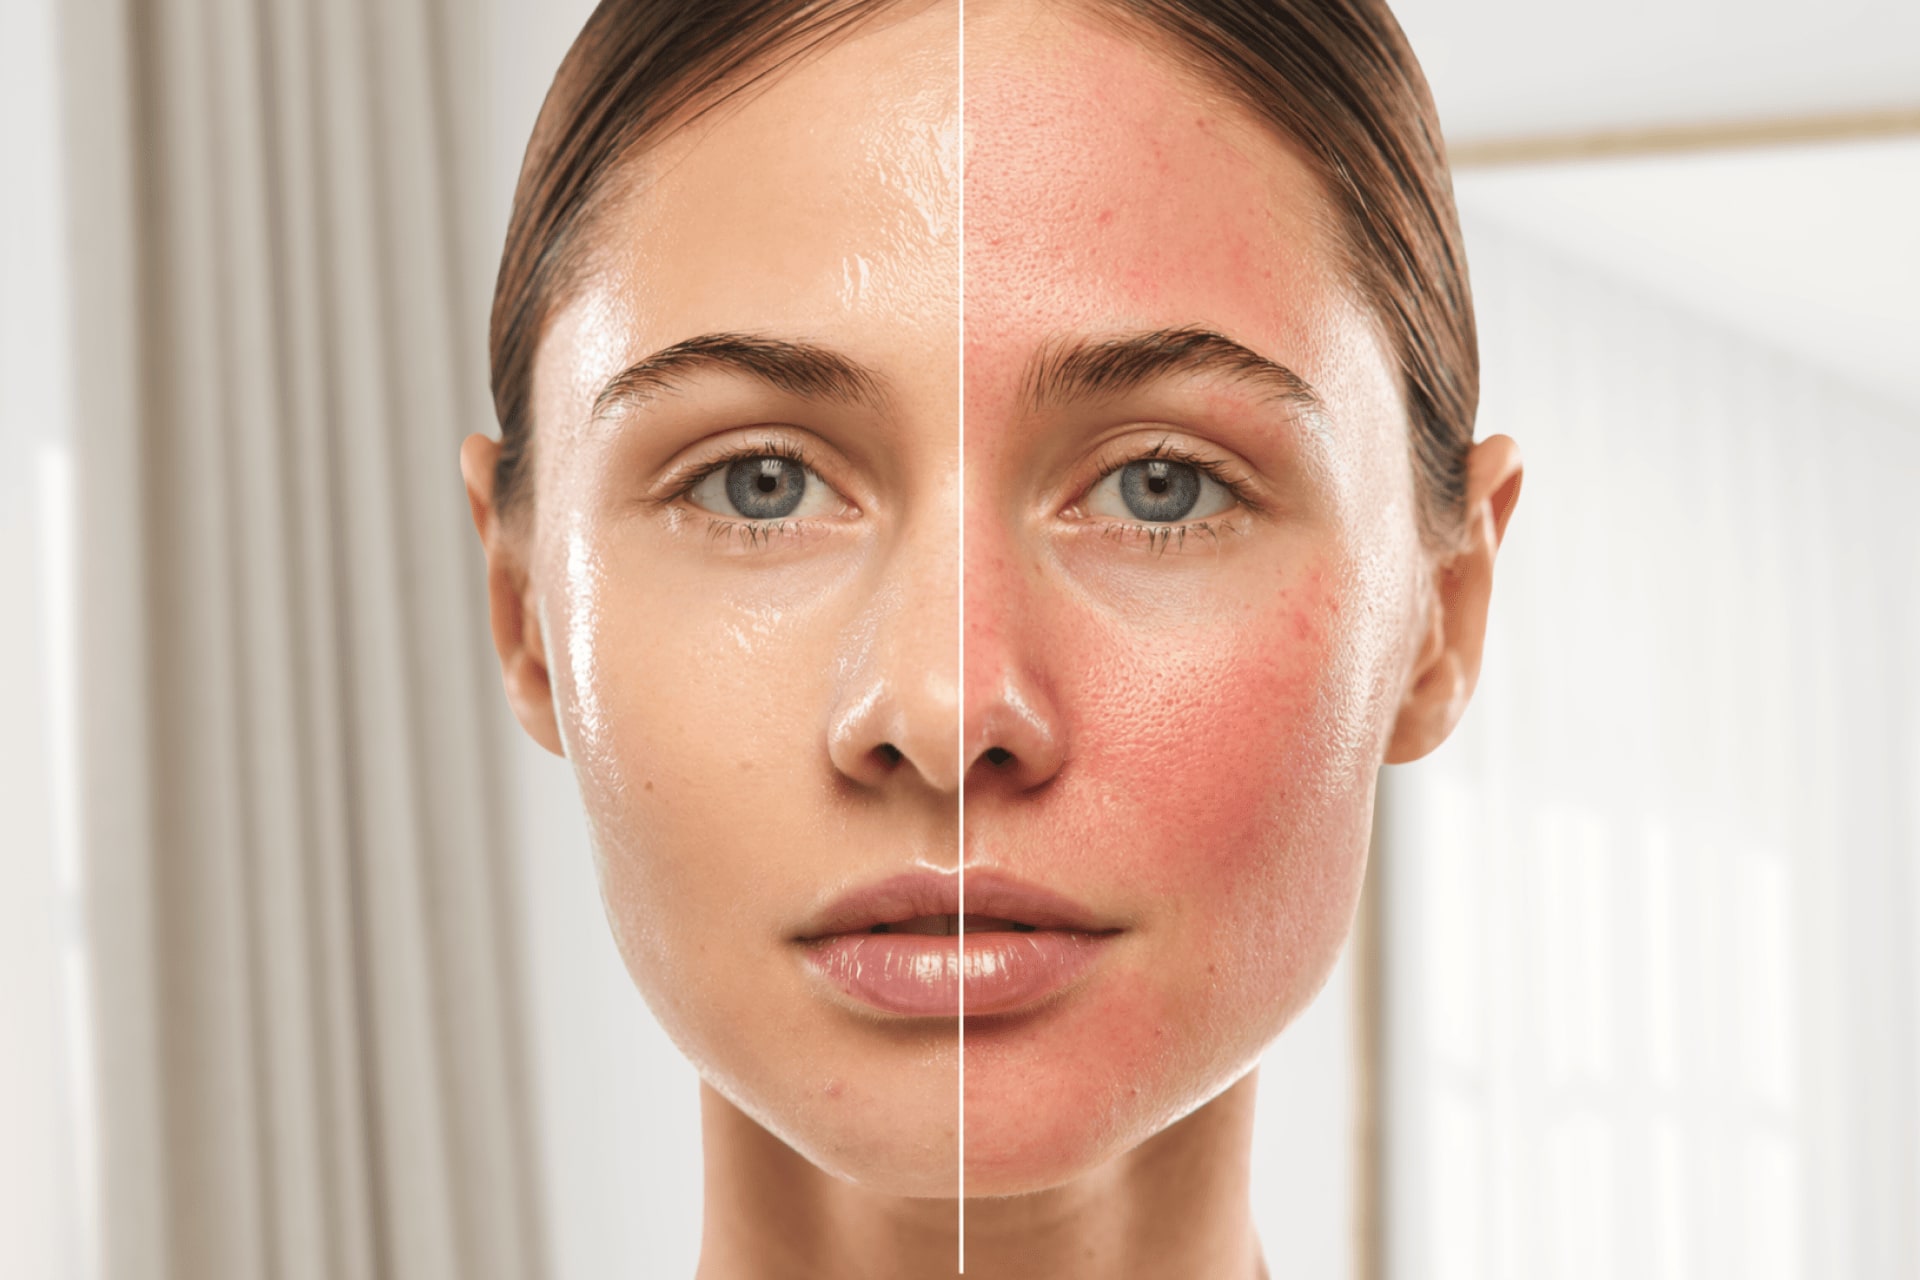
Natural graduation makeup means lightweight coverage that evens skin tone, defined brows, mascara, and a lip product with enough pigment to register in photos.
It works best for dry and normal skin types — lightweight formulas settle naturally and photograph without texture. On oily skin, it holds well with a mattifying primer; on combination skin, zone priming works best — mattifying on the T-zone, hydrating on the cheeks. Without either, the base tends to break down within two to three hours in warm weather.
![IMAGE — NATURAL LOOK_ Editorial portrait, Vogue style.].png](https://res.cloudinary.com/product-epica-beauty/image/upload/f_auto/q_auto/v1779204765/brand-site/IMAGE_NATURAL_LOOK_Editorial_portrait_Vogue_style_a9bd8665e3.png)
On camera, natural makeup can lose definition under flash if the brows and lashes are not built up enough. Whatever reads as natural in person should be one step more defined on graduation day because flash reduces contrast and detail.
🔹Comfort level: this is the easiest look to wear for eight-plus hours, with minimal touch-ups needed — blotting papers and a lip refresh are usually sufficient.
Giorgio Armani Luminous Silk Foundation
Medium buildable coverage with a natural glow finish — no SPF, so no flash whiteout risk. The formula sets on the skin rather than staying wet, which means it holds across a long day without migrating. Suited for normal, dry, and combination skin types.

If your scan results show a Pearl Shine Icon or Dune Sun Adventurer archetype, this is your look — both have light complexions that read best with soft coverage and a subtle reflective finish, which is exactly what the natural look delivers.
Soft Glam
Soft glam uses medium-coverage foundation with a satin finish — not matte, because a fully flat finish reads as a mask on camera and removes the natural dimension of the skin, and not dewy, because the look needs enough structure to hold across the day.
The satin finish mimics the light-reflective quality of healthy skin: enough glow to look alive in photos, enough grip to stay in place. A neutral eye with blended depth in the crease, defined lashes, and a lip color with staying power — typically mauve, nude-pink, or light berry — complete the look.

It photographs consistently across daylight and flash because the additional eye and lip definition gives the camera something to read, so the face does not disappear under bright light the way a purely natural look can.
Dry skin carries a satin finish naturally and benefits most from this formula. Combination skin benefits from a satin formula that controls T-zone shine without going flat on the cheeks. Oily skin needs a formula with more active oil control — a satin finish on oily skin without a mattifying primer underneath tends to shift to a full shine within a few hours.
🔹Comfort level: roughly 45 to 60 minutes to apply, holds without significant mid-day attention, and wears comfortably through both outdoor and indoor portions of graduation.
Charlotte Tilbury Beautiful Skin Foundation
Medium-buildable coverage with a satin, skin-like finish. Controls T-zone shine without going flat on the cheeks — suited for combination skin that needs one formula across the full face.
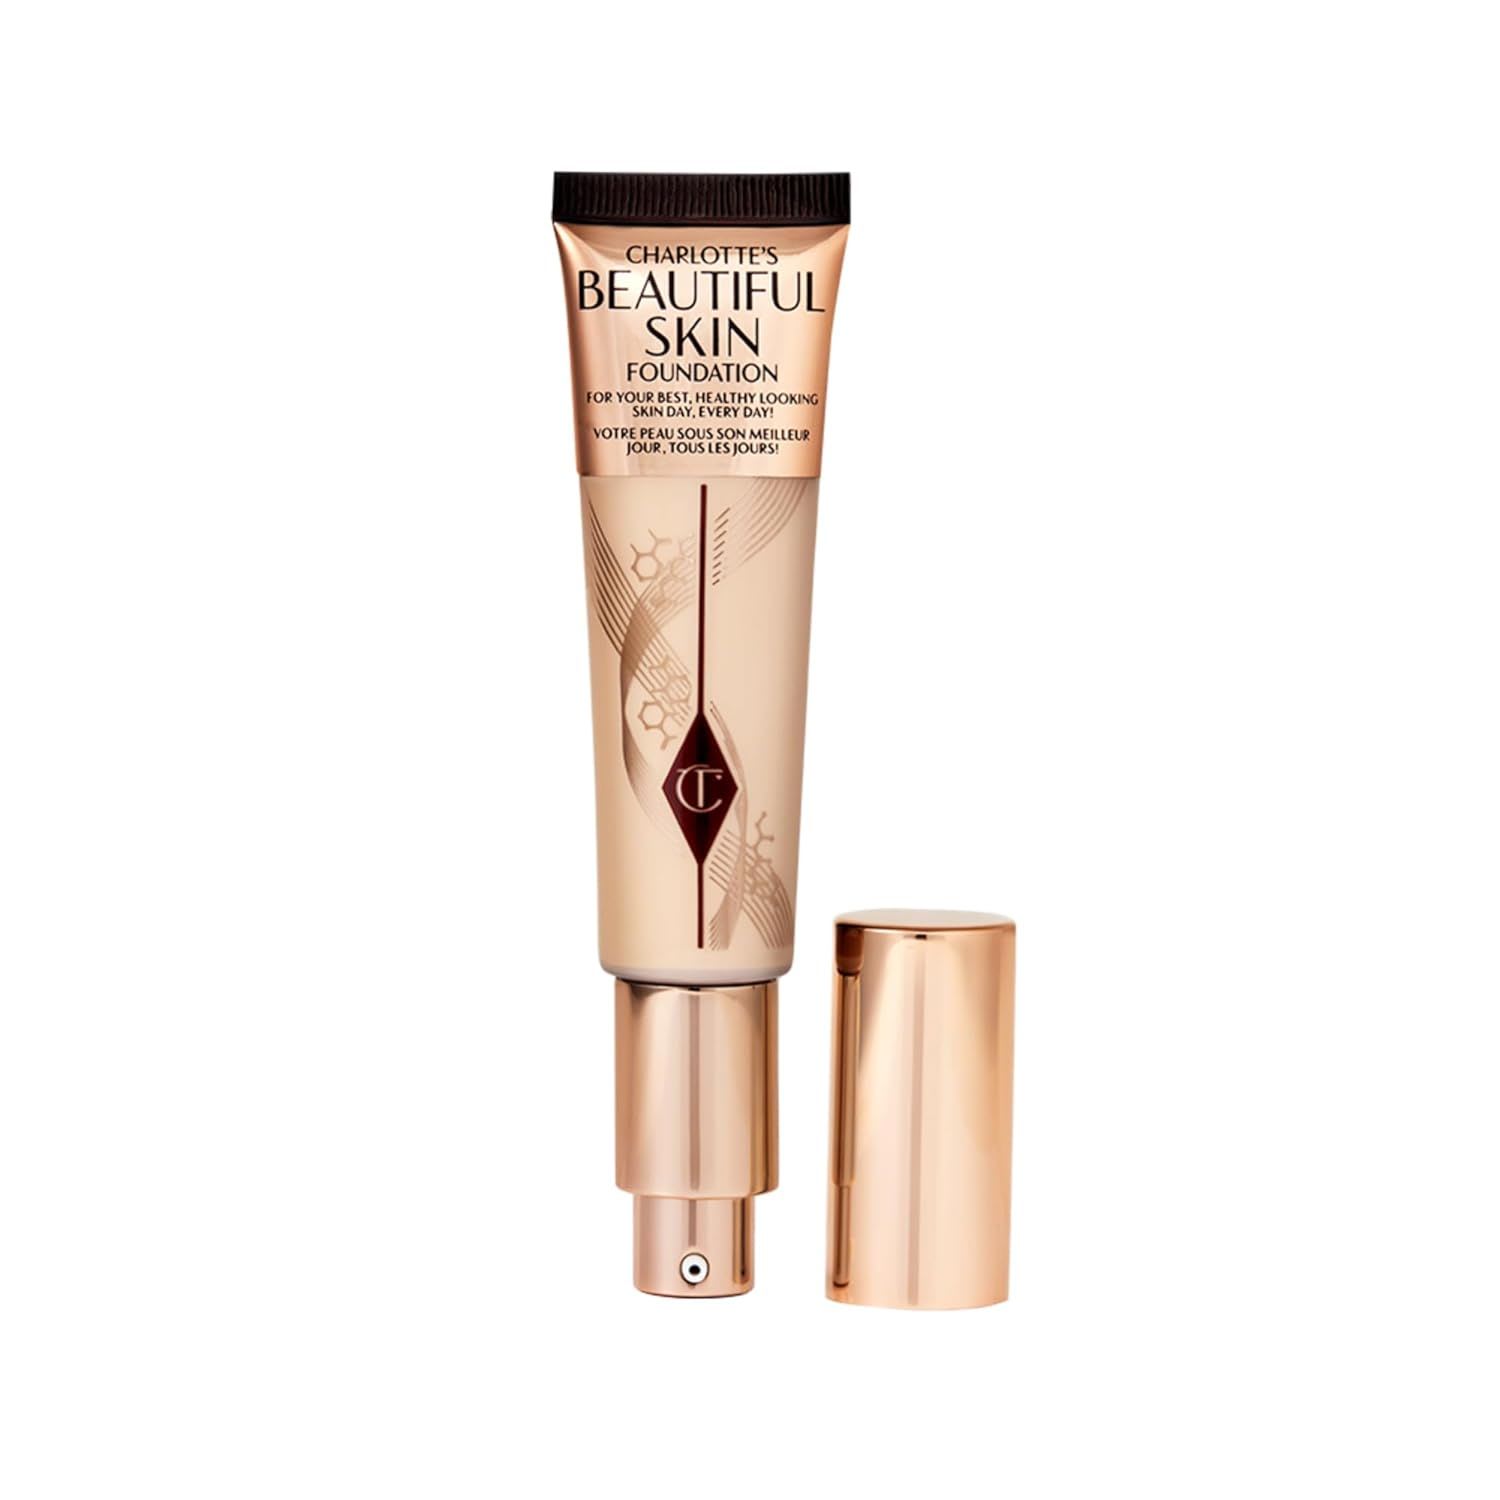
Dune Sun Adventurer or Neon Mist Rebel archetypes, this is your match — the satin finish gives the light-reflective glow both archetypes favor, and the mauve-to-berry lip palette stays within the soft tones their light complexions wear best.
Subtle Glam
Subtle glam means full-coverage foundation, a defined eye in brown or taupe — black reads as full glam on camera and pushes the look past the threshold of this style — and a bolder lip: dusty rose, berry, or a deep nude.
This look is built for indoor ceremonies and evening events, where flash is the primary light source and stronger definition holds its own against flat overhead lighting. For outdoor ceremonies in natural daylight, subtle glam works but requires careful powder placement — full-coverage foundation in heat without controlled setting tends to look heavy by midday.

For dry skin, thorough preparation the night before matters: a hydrating serum and no active ingredients like retinol or AHAs, which can cause sensitivity that makes foundation application uneven the next morning.
For normal, oily, and combination skin, a full-coverage semi-matte formula holds well across a long day because the finish is designed to resist sebum without going fully flat.
🔹Comfort level: 45 to 60 minutes to apply. Heavier coverage is physically noticeable on the skin, and this look requires blotting and re-setting the T-zone at least once or twice in warm weather — plan for one full touch-up across the day.
Charlotte Tilbury Airbrush Flawless Foundation
Full coverage with a 3D-matte finish that controls shine without looking dry on the skin. Waterproof and transfer-proof formula — suited for oily, combination, and normal skin types. Apply half a pump for lighter coverage, one full pump for complete coverage.

Scanned as a Sunset Flame Muse or Rooftop Champagne Icon? This is the look for you — bold complexions hold the deeper berry and dusty rose lip shades that would overpower lighter archetypes, and the brown-taupe eye matches the warm, polished palette both already register well on camera.
Full Glam
Full glam means full-coverage foundation, a defined or smoky eye with liner, and a bold lip — red, deep berry, or a heavily lined nude. It was built for photography: studio flash, indoor ceremony lighting, and formal portrait sessions where strong definition reads as intentional rather than excessive.

It requires the most thorough skin prep of all four looks: no new active ingredients the night before, well-moisturized skin, and a long-wear primer underneath everything. For oily skin, a full-coverage matte finish is the most durable option because heavy mattifying formulas resist sebum better than lightweight alternatives.
For dry skin, full glam requires a hydrating primer and thin layering to avoid a textured finish by hour four. For normal and combination skin, the main variable is primer — zone priming keeps the T-zone controlled without over-drying the rest of the face across a long day.
On camera, full glam is the only style in this list that was designed to be seen under flash. The bold lip and defined eye do not disappear under bright light — they hold their structure in close-up portraits and group shots equally. In natural daylight, the look reads as deliberately done rather than editorial, which is worth knowing before choosing it for an outdoor ceremony.
🔹Comfort level: 60 to 75 minutes to apply. Full-coverage foundation is physically present on the skin — heavier than everyday wear — and the look requires a full lip and powder touch-up every two to three hours. It is the right choice when the photos are the priority and the day's schedule allows for maintenance.
NARS All Day Luminous Weightless Foundation
Full coverage with a semi-matte, skin-like finish and 16-hour wear. No SPF — no flash whiteout risk under professional photography lighting. Oil-free formula suited for oily and combination skin; for dry skin, layer over a hydrating primer to prevent the finish from sitting dry by hour four.

For Moonlit Shadow Muse and Sunset Flame Muse archetypes, this is the look. Both have high-contrast complexions built for dramatic definition — the smoky eye matches Moonlit Shadow's deep, cool palette, and the red or deep berry lip falls into Sunset Flame's fiery range.
Step-by-Step Graduation Makeup Routine
Application order determines how long the makeup lasts. Each step creates the surface the next product needs — primer seals the skin for foundation, foundation creates the base concealer blends into, powder locks both in place, and setting spray bonds all layers together. Applied out of sequence, the products compete rather than layer.
Step 1: Skin Prep
Cleanse, apply serums, and moisturize at least 30 minutes before starting makeup — moisturizer needs time to fully absorb before primer goes on top. Skip heavy facial oils on graduation morning; they create a barrier that prevents primers from adhering correctly.
Note: If your moisturizer or sunscreen contains mineral SPF — zinc oxide or titanium dioxide — let it fully absorb before primer. Mineral UV filters reflect camera flash and cause white cast in photos.
Works well for this step:
La Roche-Posay Toleriane Purifying Foaming Facial Cleanser
Gentle foaming cleanser for normal, oily, and sensitive skin. Ceramide-3 supports the moisture barrier during cleansing so the skin is not stripped before primer and foundation go on. Niacinamide calms reactivity. Fragrance-free, sulfate-free, non-comedogenic.

Step 2: Primer
Primer creates the adhesion surface between skin and foundation. Without it, foundation migrates into expression lines and pores within a few hours.
Match primer to your skin type: mattifying silicone-based for oily skin, hydrating for dry skin, and a lightweight neutral formula for normal skin. For combination skin, use both in their respective zones — mattifying on the T-zone, hydrating on the cheeks. This is called zone priming.
What to look for:
Smashbox Photo Finish Minimize Pores Primer
Mattifying silicone formula that fills pores and creates a smooth surface. Designed for photography conditions where pore visibility is amplified by flash. Suited for oily and combination skin.

Charlotte Tilbury Wonderglow Face Magic Primer
Hydrating formula for dry and normal skin. Adds moisture without greasiness and lets foundation apply cleanly without dragging across dry patches.

Step 3: Foundation
Match foundation shade to the jawline, not the face — the face is often slightly redder or darker than the neck due to more sun exposure and a higher density of surface capillaries.
Apply with a damp beauty blender using a stippling motion: press into the skin rather than wiping across. Build in thin layers — the key to avoiding cakey-looking makeup is not loading product in one pass, but building gradually so each layer has a moment to set before more goes on top. For a full breakdown of which lightweight formulas hold up in heat without migrating or clogging pores, see Lightweight Foundations That Won't Melt, Clog, or Creep Into Pores—Even on 95°F Days.
For higher coverage, a flat foundation brush deposits more product and allows more precise placement than a sponge. Use the same stippling motion rather than dragging across the skin.
Recommended for this step:
Real Techniques Expert Face Brush
Flat foundation brush suited for full-glam and subtle-glam application. Stipple rather than drag — the same technique as a beauty blender but with more controlled deposit and coverage.

Step 4: Concealer
Apply concealer after foundation, not before. Foundation covers a significant portion of what concealer would otherwise need to address — applied last, concealer goes onto a smoother base and requires less product.
For under-eye concealer, go one to two tones lighter than the foundation. Blend with a small damp beauty blender, then set with a powder puff using a pressing motion — pressing locks the product in place, sweeping lifts it off.
For active breakouts: apply a green color corrector under concealer. Green neutralizes redness before coverage goes on top, which means less product is needed and the area photographs more naturally.
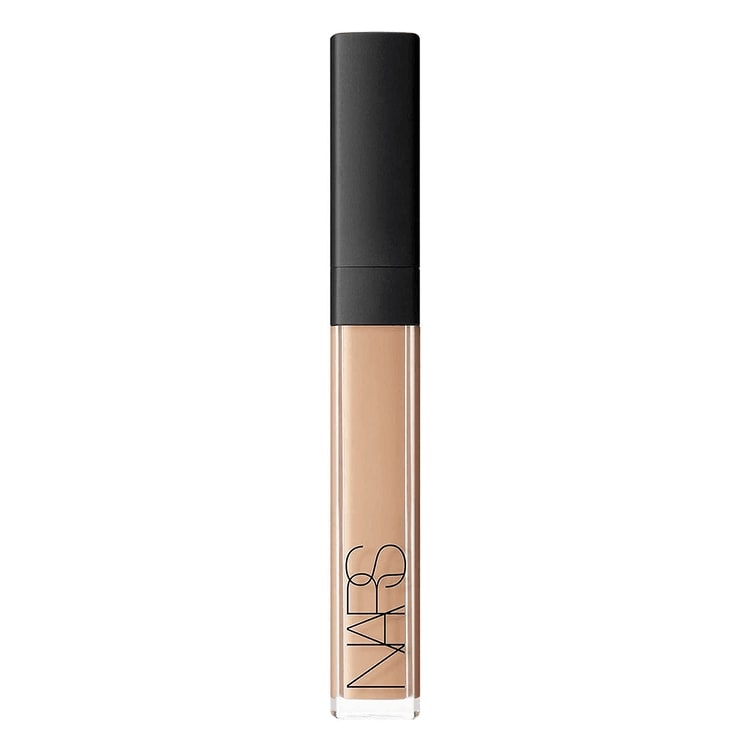
A reliable option:
Buildable coverage with a natural finish. Does not crease under the eyes across a long day — suited for both under-eye brightening and spot coverage over active breakouts.
Step 5: Eyes
Every eye product should be waterproof or water-resistant. Crease-resistant eyeshadow and transfer-proof eyeliner are what separate a look that holds through the ceremony from one that needs full correction by dinner. Apply eyeshadow in thin layers — heavy-handed application creates fall-out onto the foundation below.
Tip: Apply a light layer of translucent powder under the eyes before doing eye makeup to catch shadow fall-out. Sweep it away after — this protects the concealer already in place.
Worth considering:
Rose-toned neutrals with matte depth in the darker shades and fine shimmer in the lighter ones. The shimmer is finely milled enough to photograph without glare under flash — suited for natural, soft glam, and subtle glam eye looks.

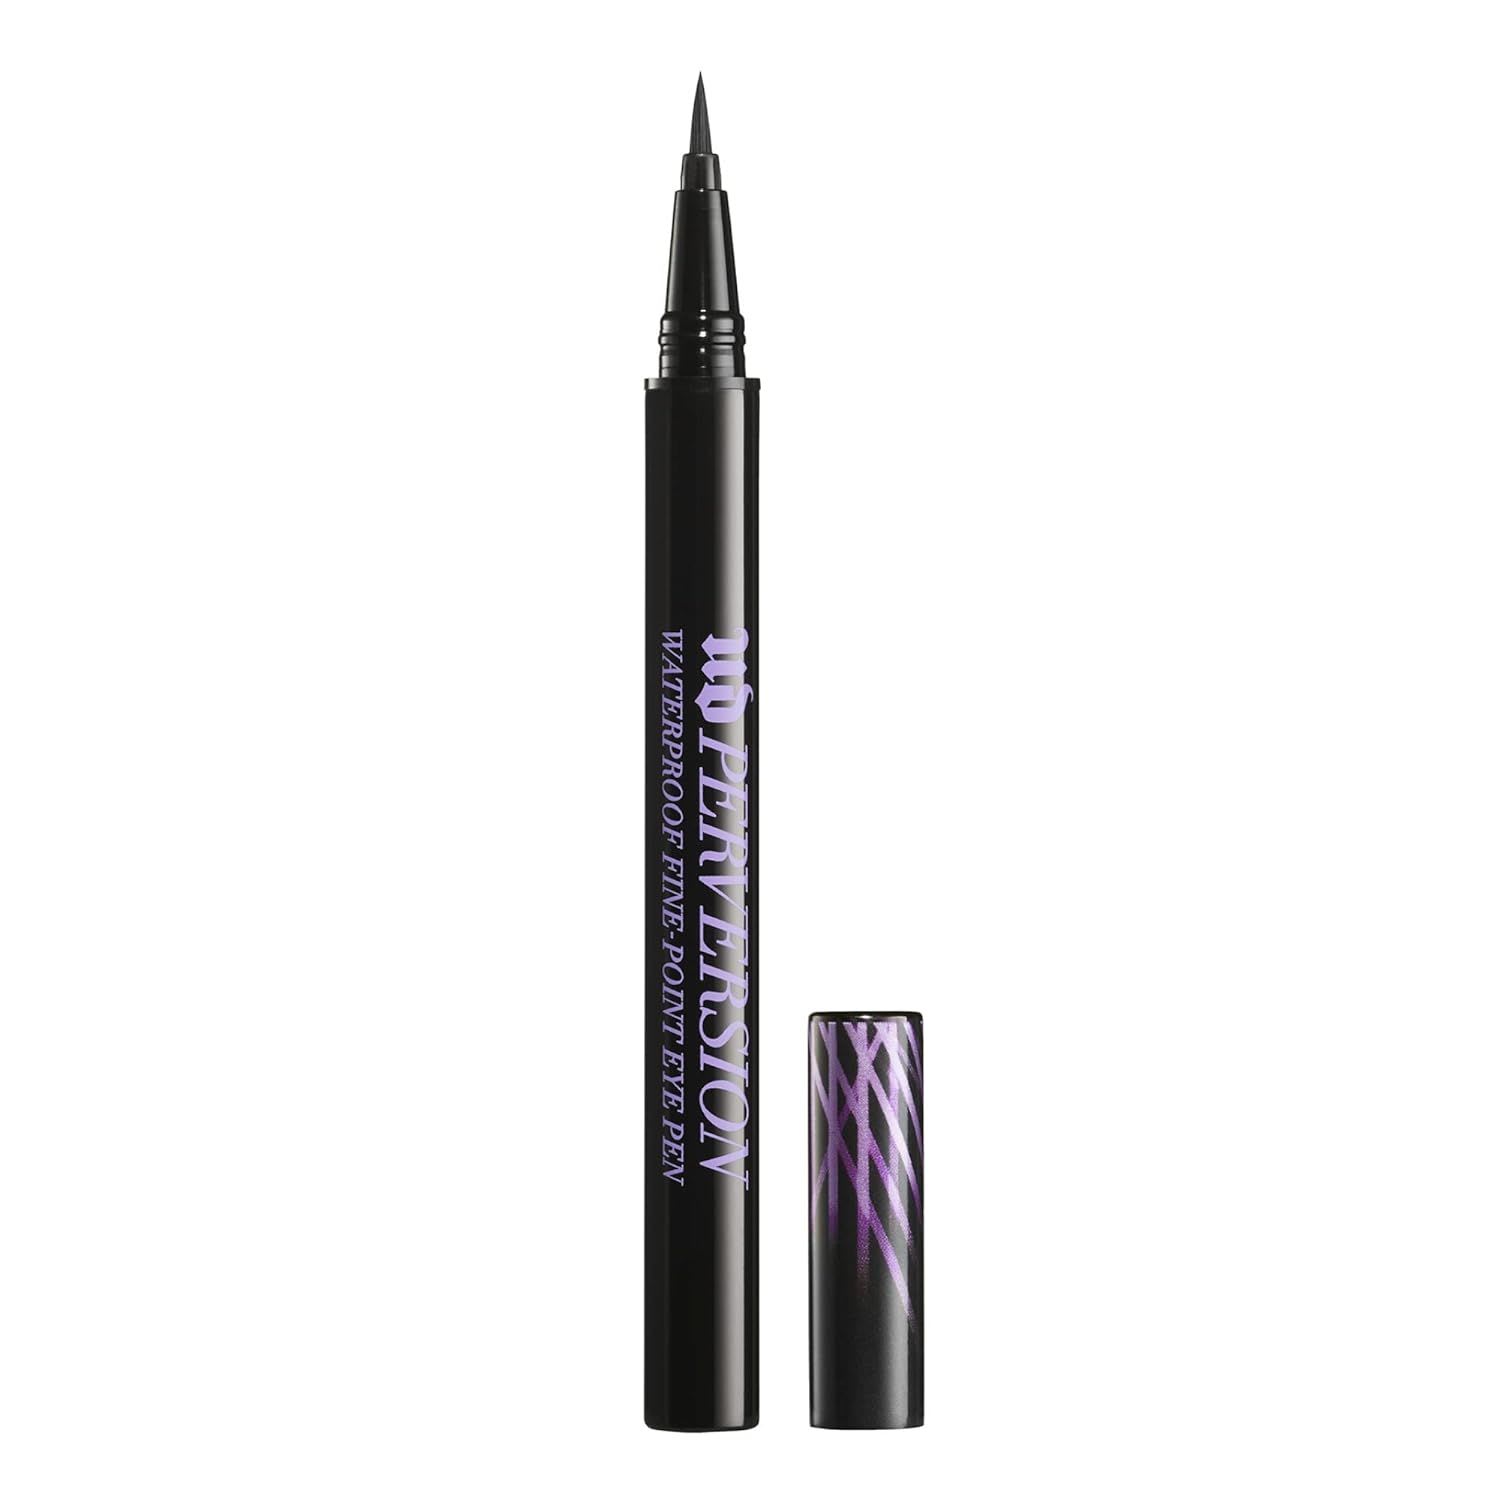
Urban Decay All Nighter Waterproof Liner
Smudge-resistant formula that holds through heat and humidity without requiring powder on top.
Step 6: Blush and Bronzer
Cream blush applied with fingertips integrates with the skin rather than sitting on the surface of powder products, which means it reads more naturally in photos and holds longer across the day.
Good fit here:
Warm peachy-pink with fine shimmer subtle enough to photograph without reading as glitter under flash. Works across a wide range of skin tones and applies with fingertips or a brush.
For bronzer, stay within two shades of your natural skin tone — deeper contour shades that look dimensional in person tend to read as a muddy stripe under studio flash.
Tested well for this:
Finely milled powder with a pure matte finish — no shimmer, no glitter. Reads as natural warmth under flash rather than as a separate product layer. Available in four shades from fair to deep; the neutral undertone works across a wide range of skin tones without pulling orange.

Step 7: Lips
A bare or very pale lip disappears entirely under flash, which removes the definition the lip color is meant to provide. Apply lip liner across the full lip surface before lipstick — not just at the edges. The liner extends wear and prevents feathering at the border. Matte formulas last longer than satin or gloss, but a thin layer of clear balm underneath is a workable middle ground that adds comfort without significantly reducing wear time.
Recommended for this step:
Charlotte Tilbury Pillow Talk Lip Liner
Precise, long-wearing edge that holds the lipstick shape across the full day without feathering.
Charlotte Tilbury Pillow Talk Lipstick
Medium-to-full pigment that photographs accurately under flash — does not disappear or shift in formal portraits.

Step 8: Setting Spray
Setting spray forms a film across all products simultaneously, bonding the layers together — different from powder, which presses one layer at a time.
Apply in an X-and-T motion at arm's length with eyes closed. Let it dry naturally — fanning the face disrupts the products before they set. For maximum hold in heat or humidity, apply twice: once after powder, and again as the absolute final step after lip color.
Works well for this step:
Urban Decay All Nighter Setting Spray
Marketed for up to 16-hour hold with a temperature-control barrier that slows product breakdown in warm outdoor conditions. Best for oily and combination skin.

Graduation Makeup for Different Skin Types
The same foundation performs differently depending on skin type over eight hours. Choosing products matched to how your skin behaves is more reliable than compensating with touch-ups.

Oily Skin
Oily skin breaks down foundation from underneath — sebum pushes through the base and causes it to separate and shine within a few hours. The fix is layering that slows this process at every step: mattifying primer creates a barrier between the skin and foundation, an oil-control foundation resists sebum longer than a standard formula, translucent powder on the T-zone absorbs what breaks through, and a humidity-resistant setting spray seals everything on top.
🔹For texture, water-hybrid or oil-free foundations with a matte or soft-matte finish hold the longest — they are formulated to resist the skin's natural oils rather than sit on top of them.
🔸Products to avoid: cream or stick foundations without oil-control properties, oil-based primers.
Dry Skin
Dry skin needs hydration built into every layer of the base. Without it, full-coverage foundation settles into fine lines and dry patches by midday and reads as textured in close-up photos. A hydrating primer, a satin or luminous-finish foundation, and cream-based blush and bronzer applied before any powder all help prevent this — each layer adds moisture rather than drawing it away.
🔹Recommended textures: satin, luminous, or natural-finish foundations; hydrating primer; cream-based blush and bronzer before powder.
Matte foundations and primers containing silica or kaolin clay are formulated to absorb oil — on dry skin, they remove the moisture the skin is already short on, and the result is a tight, flaky finish that worsens across the day. Powder should be used sparingly — T-zone only. Across the rest of the face, powder exaggerates surface texture and reads as flat under flash.
🔸Products to avoid: matte foundations, primers containing silica or kaolin clay, heavy translucent powder applied across the full face.
Combination Skin
Combination skin has two competing needs in the same face: an oily T-zone that breaks down coverage and dry or normal cheeks that tighten under heavy oil control. Using one formula across the full face solves one problem and creates the other.
Zone priming addresses this directly — a mattifying primer on the T-zone, a hydrating primer on the cheeks. The same logic applies to powder: set the T-zone only and let the cheeks keep the foundation's natural finish.
🔸Products to avoid: strongly mattifying primers applied across the full face, setting sprays with aggressive oil-absorbing properties used over the cheeks.
Acne-Prone Skin
Acne-prone skin reacts to pore-occluding ingredients and bacteria introduced during application. Every product in the routine should be non-comedogenic — formulated to avoid clogging pores — and that includes the tools. Brushes and beauty blenders should be cleaned before graduation day to avoid introducing bacteria to reactive skin during application.
Lightweight, buildable foundations applied in thin layers with a damp sponge photograph better than heavy full-coverage formulas on textured or raised acne — a thick product catches on raised edges and reads as additional texture on camera rather than as coverage.
🔸Products to avoid: alcohol-heavy setting sprays, oil-based primers, and foundations containing highly comedogenic ingredients such as coconut oil, isopropyl myristate, or wheat germ oil.
EpicaBeauty reads your skin type and main concerns in under two minutes, then guides you through prepping your skin with lessons built around your scan.
How to Make Graduation Makeup Last All Day
Before leaving the house, pack a touch-up kit: blotting papers, a pressed powder, the lip product from the morning, a small concealer, and a travel-size setting spray. Everything fits in a small pouch — and knowing what is in it removes the guesswork mid-day.
After foundation, set with a translucent powder using a powder puff in a pressing motion — this locks the product in place. A brush sweeps across the surface and provides lighter hold. Apply powder only to the T-zone and under the eyes; on medium and deeper skin tones, light-colored translucent powder across the full face creates a visible gray contrast with the skin's undertone in photos.
For touch-ups across the day:
- Blotting papers first — they remove excess oil without adding product buildup.
- Pressed powder only when the base has visibly separated, not as a reflex.
- For lip touch-ups, reapply liner first, then lipstick — lipstick over a faded base without liner looks uneven at the edges.
- Avoid touching the face between touch-ups — each touch deposits warmth and moves product.
Makeup Tips for Graduation Photos
Camera flash and mixed lighting create problems that do not show up in the mirror. Each of the following is testable before graduation day.
Flash Whiteout and SPF

Mineral UV filters — zinc oxide and titanium dioxide — reflect camera flash and create a white cast that makes skin appear visibly lighter than in person. Check whether your products use mineral or chemical filters:
- Chemical (avobenzone, octinoxate, oxybenzone) — absorb UV, no flash whiteout
- Mineral (zinc oxide, titanium dioxide) — reflect light, cause white cast under flash
If your skincare contains mineral SPF, apply it as a skincare step only and use a separate SPF-free base on top.
Foundation Oxidation

Iron oxide pigments react with skin oils and shift many formulas noticeably darker within a few hours — most pronounced in warm conditions. Test before graduation day:
- Apply foundation as usual.
- Wait three hours.
- Compare to a freshly applied patch on your wrist.
If the difference is visible, go one shade lighter or switch to an oxidation-resistant formula.
Contour, Lips, and Lighting
Contour reads as a stripe under flash when the shade is cool-toned or more than two shades darker than the foundation. Use a warm, skin-toned bronzer shade and blend thoroughly.
Lip color reads visibly lighter in photos than in person. Choose a medium-pigmented color at minimum and apply over a matching liner — the liner holds the edge even when the color fades slightly under flash.

Outdoor daylight is the most forgiving photography condition — colors read accurately. Indoor stage lighting flattens the face: slightly stronger eye definition and more deliberate contour compensate. For HD photography, avoid chunky shimmer and coarsely milled bronzers — they read as texture, not as finish.
Common Graduation Makeup Mistakes
The most common graduation makeup mistakes fall into two categories: wrong product for the conditions, and correct product applied incorrectly. Both are fixable before the event during a trial run.
- Wrong Foundation Shade
Match foundation to the jawline, not the face. The face is often slightly redder or darker than the neck, and a mismatched shade creates a visible line at the jaw in portrait photos. If your foundation has looked noticeably darker by midafternoon at past events, run the three-hour oxidation test before graduation day.
- Skipping Primer
Foundation applied over moisturizer alone migrates into expression lines and pores faster — the breakdown is most visible by hours three to four, exactly when graduation photos are often taken at the dinner or celebration.
- Over-Powdering
Apply translucent powder only to the T-zone and under the eyes, with edges blended out. If a powder line is visible in the mirror after application, blend it with a clean fluffy brush before setting spray. The same applies to touch-ups: press a small amount into the T-zone only.
- Overly Dramatic False Lashes
Theatrical full-strip lashes read as costume-level on camera for simple graduation makeup looks. Individual lash clusters or natural-style strip lashes add volume and definition without the exaggerated length of performance-style lashes.
- Makeup Oxidation
Touch-ups do not correct oxidation — they add fresh product on top of a shifted base. The only reliable fix is testing the formula before graduation day and adjusting shade or switching formulas.
DIY Graduation Makeup vs Professional Makeup Artist
For those who prefer to delegate entirely, a professional makeup artist assesses your skin in person and adjusts the look to the specific conditions of your event. Book a trial session a few weeks before graduation; bring reference images and specify your skin type.
The DIY route works well for natural and soft glam — both are manageable for someone who applies a full face regularly. The limitation is look-specific: a precise cut crease, full-coverage application over active acne, or a complex eye on a difficult skin type all require practice.
If you are attempting a look you have not done before, run a complete full-face trial at least two weeks before graduation — wear it for six to eight hours and photograph yourself in natural light and under phone flash to see what needs adjusting: shade, oxidation behavior, or how the lip color reads on camera.
Learning to do your own graduation makeup is a reasonable goal — EpicaBeauty breaks down soft glam and natural looks into step-by-step lessons built around your face shape, skin type, and undertone, including how to find the foundation shade that actually works for you.


- Fulton, J. E., Jr. (1989). Comedogenicity and irritancy of commonly used ingredients in skin care products. Journal of the Society of Cosmetic Chemists, 40(6), 321–333. https://www.semanticscholar.org/paper/Comedogenicity-and-irritancy-of-commonly-used-in-Fulton/578cd23064f4be5f9f623e9cb9dbfe4a6c29eef2. Accessed May 14, 2026.
- Chen, G., Tan, Y., Wang, S., Yu, J., & Yang, C. (2022). Research on the intrinsic mechanism of the darkening of liquid foundation. Skin Research and Technology, 29(1), e13236. https://pubmed.ncbi.nlm.nih.gov/36412266/. Accessed May 14, 2026.
- U.S. Food and Drug Administration. Is it a cosmetic, a drug, or both? (Or is it soap?). fda.gov. https://www.fda.gov/cosmetics/cosmetics-laws-regulations/it-cosmetic-drug-or-both-or-it-soap. Accessed May 14, 2026.
- Medical News Today. What does noncomedogenic mean? https://www.medicalnewstoday.com/articles/noncomedogenic. Accessed May 14, 2026.
- Healthline. Noncomedogenic: What it means, ingredients, and products. May 22, 2023. https://www.healthline.com/health/beauty-skin-care/non-comedogenic. Accessed May 14, 2026.
- L'Oréal Paris. How to avoid a white cast from sunscreen. March 20, 2024. https://www.lorealparisusa.com/beauty-magazine/skin-care/sun-care-and-self-tanning/sunscreen-white-cast. Accessed May 14, 2026.
- Supergoop. Why some sunscreens leave a white cast and what you can do about it. May 21, 2025. https://supergoop.com/blogs/asked-answered/does-mineral-sunscreen-leave-white-cast. Accessed May 14, 2026.
- Sunsolve MD. Why some sunscreens leave white cast: what you can do about it. December 13, 2025. https://www.sunsolvemd.com/blogs/learn/white-cast-sunscreen. Accessed May 14, 2026.
- Smooche. How to stop your foundation from oxidizing. March 24, 2026. https://smooche.com/blogs/news/how-to-stop-your-foundation-from-oxidizing-and-the-fix-that-actually-works. Accessed May 14, 2026.
- Kesu Guide. Why foundation oxidizes and how to prevent it. August 7, 2025. https://kesuguide.com/why-foundation-oxidizes-and-how-to-prevent-it. Accessed May 14, 2026.